
Ready to automate your tool and equipment tracking with barcodes?
Barcoding has been around far longer than technologies like BLE and RFID, and it remains one of the simplest, most effective asset tracking solutions your construction business can adopt.
But before you start barcoding, there are five important steps to follow to make the process smoother and more effective.
And that’s exactly what you’ll find in this guide.
In this article...
1. Assess Current Asset Tracking Methods
Before you start barcoding your tools and equipment, you need to evaluate the existing tracking methods.
This step highlights inefficiencies, uncovers inaccuracies, and identifies areas where automation could help you save time and avoid costly mistakes.
Most companies making the switch to barcodes still rely on paper forms, whiteboards, or Excel spreadsheets.
Those methods leave you wide open to misplaced equipment, data entry mistakes, and wasted hours chasing down missing tools.
One Reddit user shared that tracing equipment and verifying its working condition this way was a constant headache at their metrology services company.

Source: Reddit
And they only had 100 assets stored in a single location.
Now, imagine how complicated it gets when tools and equipment move between multiple construction sites.
That’s why it’s so important to assess your current system:
To get a clear picture of what’s working, what isn’t, and where your biggest opportunities lie.
Ajit Pawar, Deputy Manager for quality audits, agrees:

Illustration: GoCodes Asset Tracking / Quote: LinkedIn
By understanding the specific needs of your business, you can choose a solution that fits your operation’s size, scope, and working environment.
But as you do this, you might start wondering whether barcodes are even the right choice.
After all, other asset tracking technologies like RFID have been getting plenty of attention.
To compare the two technologies and their core capabilities, here’s a helpful breakdown:

Source: Brady Europe Middle-East & Africa on YouTube
Barcodes offer a simple, plug-and-play solution that’s ideal for construction workflows.
They require a direct line of sight and store far less information than RFID tags, but for most construction companies, this isn’t a dealbreaker.
After all, you’re not managing thousands of SKUs like in a retail warehouse.
While RFID has a longer read range and can capture data without a line of sight, it also demands a hefty investment in infrastructure and specialized readers.
On the other hand, barcode scanners cost around $15 to $25–$30 per unit, as Nicholas Daniel-Richards, Co-Founder of ShipHero, a warehouse management system, points out:

Illustration: GoCodes Asset Tracking / Quote: Camcode
Beyond scanners, there’s the cost of printing your barcode labels, which can be done in-house with standard paper, ink, and a reliable label printer.
Nevertheless, it’s not as simple as printing stickers and calling it a day.
The type of label you choose needs to match the demands of your working environment, which brings us to the next step.

2. Choose Appropriate Barcode Labels
A barcode system is only as good as the labels you stick to your assets.
Without durable, reliable tags, your barcodes won’t last, and neither will your tracking accuracy.
Many suppliers advertise using barcode labels that companies can print by themselves.
While that might be fine for office supplies or packaged inventory, construction companies face much tougher conditions.
Mud, rain, oil, vibration, and direct sunlight can quickly destroy standard labels, which is why it’s essential to match your labels to the job site environment.
To help with this, here’s a breakdown of the key factors to consider when choosing barcode labels.

Source: GoCodes Asset Tracking
Simply put, labels must remain scannable throughout their intended lifespan, which means withstanding UV exposure, moisture, chemicals, physical abrasion, and extreme temperatures.
In addition to investing in materials that resist peeling, fading, and general wear, you have to match barcode labels to the most suitable surfaces.
As you’d expect, there are differences when tagging a smooth power drill, a curved hydraulic hose, and a textured generator casing.
Some suppliers make selection easier by categorizing labels by durability tiers and specifying compatible surface types.
For instance, Strong Asset Tags sells polyester, vinyl, and plastic barcode labels classified as strong, stronger, or strongest, with clear guidance on which options perform best outdoors and on specific surfaces.

Source: Strong Asset Tags
Adhesive strength is another thing to consider.
As MyAssetTag’s guide explains, tools with rough, uneven, or oily surfaces need extra-strong adhesives to keep labels from peeling off mid-project.
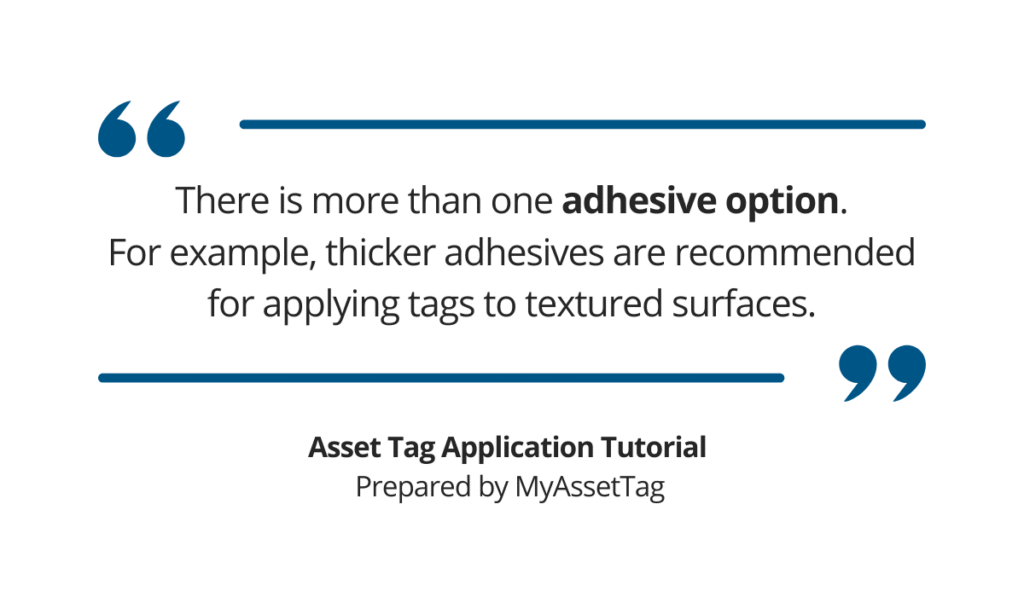
Illustration: GoCodes Asset Tracking / Quote: MyAssetTag
There are plenty of materials labels can be made of, so for the most extreme conditions, many construction companies turn to anodized aluminum tags.
For harsher conditions, anodized aluminum tags are time-tested.
They survive:
- 265 hours at 500°F
- 20 years of UV exposure
- 7,000 abrasion cycles under a 1,000g load
Even after all that, the barcode remains legible, which makes these tags ideal for tracking heavy equipment or tools stored outdoors.
Ultimately, choosing the right barcode label is about balancing durability with cost while avoiding constant replacements.
3. Select Compatible Scanning Equipment
Once you’ve labeled your assets, the next step is choosing barcode scanners that fit your operational needs and will work seamlessly with your tracking system.
In construction, three options are typically used:
- Handheld scanners
- Mobile devices with scanning apps
- Fixed scanners
Each has its place on your site depending on mobility requirements, scanning volume, and site conditions.
For instance, handheld devices and mobile phones are most common for tool rooms and job sites, while fixed scanners are valuable at material gates or tool rooms because they enable automated, high-frequency scanning.
Still, to make the most of any of these, businesses have to pay attention to overall interoperability.
According to Userlane, integration issues are a major cause behind digital transformation failures.

Illustration: GoCodes Asset Tracking / Data: Userlane
In this case, compatibility problems can surface in several ways:
| Communication protocols | If your scanner only uses USB and your software runs in the cloud via API calls, they can’t talk to each other. |
| Operating system mismatches | A scanner running on Android CE might not support your iOS-only asset management app. |
| Barcode type incompatibility | If your tags use 2D QR codes and the scanner only reads 1D barcodes, it’s a non-starter. |
These issues aren’t just inconvenient; they disrupt workflows and create blind spots in your asset tracking.
Durability is another key factor.
Construction sites are harsh, and while smartphones are convenient, they often lack the battery life and ruggedness needed on the job.
That’s why rugged handheld scanners are often a better fit for outdoor or remote sites with extreme conditions.

Source: Zebra Technologies
Nevertheless, many companies tend to choose the toughest, most specialized devices they can find.
As an EMP Tech Group representative notes, this isn’t always due to harsh site conditions, but rather a fear of being left without a working scanner when it’s needed most.
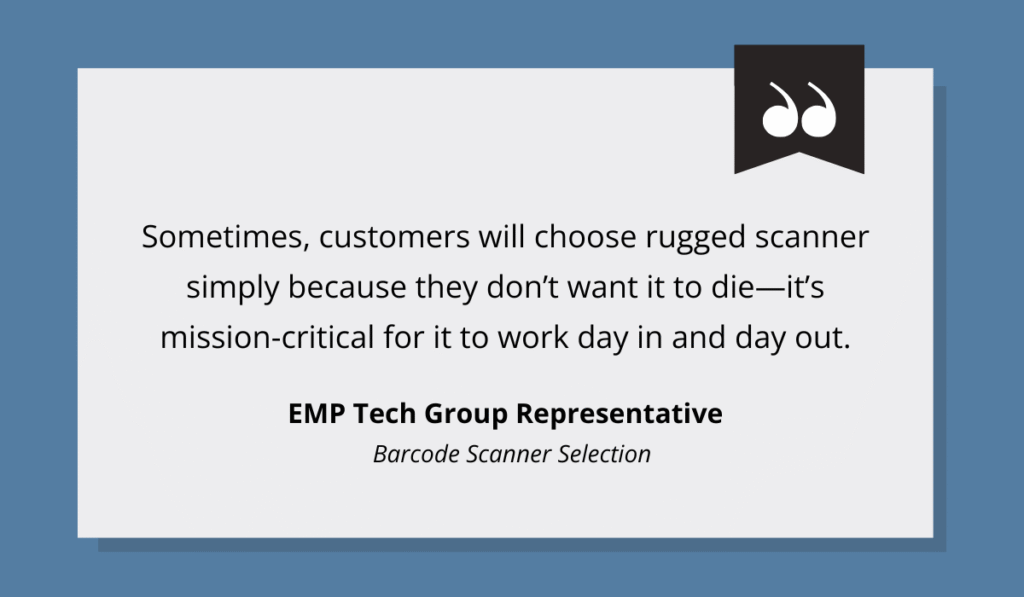
Illustration: GoCodes Asset Tracking / Quote: EMP Tech Group on YouTube
This mindset can lead to over-investing in hardware, even when a more balanced setup would be just as effective.
That’s why it makes sense to consider a blended approach, combining:
- Mobile apps for casual, on-the-go checks
- Handheld scanners for bulk or routine site scans
- Fixed scanners for automated tracking at gates or tool rooms
This way, companies can meet all operational needs without overspending or relying too heavily on a single type of device.
4. Implement Asset Tracking Software
The next step is to adopt software that integrates seamlessly with your barcode labels and scanners.
As one Reddit user put it, there’s no real workflow without connecting your database to the software.
A scan needs to automatically enable an asset update.

Source: Reddit
Without that link, you’re stuck making manual updates, thereby defeating the whole point of automation.
This is why industry experts like Mike Griffin, President of Razr Logistics, continue to push for digital adoption.
Griffin points out how barcode and similar systems improve real-time tracking and reduce asset-related risks.

Illustration: GoCodes Asset Tracking / Quote: LinkedIn
There are plenty of things to look for in a fixed asset tracking software, but it all comes down to functionalities that streamline your day-to-day management, such as:
- Easy asset registration
- Real-time tracking
- Reporting
For example, with solutions like GoCodes Asset Tracking, the mobile app opens straight to the scanning screen, letting you scan a label or search for an asset instantly.

Source: GoCodes Asset Tracking
Once scanned, you can view key details like location, status, maintenance records, and assigned personnel.
As shown below, the centralized database keeps all asset information organized and easily accessible.

Source: GoCodes Asset Tracking
It’s also worth noting the added flexibility if your system supports both barcode and QR code labels.
This allows you to choose based on the specific use case.
There are important differences between barcode and QR code asset tracking, mainly due to QR codes holding more data in a compact space.
This makes them ideal for a wide range of construction assets, especially where label space is limited and detailed data needs to travel with the item.

Source: GoCodes Asset Tracking
Of course, even the best tech and advanced features won’t help if your crew isn’t using them properly, which brings us to the final step.

5. Train Your Employees On Barcoding
Once you ensure your crew knows how to use the barcode system properly, operating the scanning tools and updating asset records in the software will be a breeze.
One immediate advantage that contributes to successful training is that barcoding is a familiar and user-friendly system.
In a 2018 Autodesk survey, user friendliness emerged as the second most important factor companies consider when selecting new technology.

Illustration: GoCodes Asset Tracking / Data: Autodesk
While barcoding systems certainly check that box, clear communication and quality training are still essential.
Especially when one of the biggest hurdles when introducing new technology is employee resistance.
This is why it’s important to immediately highlight the impact of automation on reducing repetitive tasks and saving time, as well as outline how the training will be conducted.
Communicating this early on can make a world of difference in employee morale and general attitude, allowing you to tap into the key benefits of properly conducted training.

Source: GoCodes Asset Tracking
To get the most from your asset tracking system, you should aim for hands-on, practical training.
Too many training sessions tend to stick to general overviews when specificity is what actually helps employees adopt new processes and avoid future hiccups.
In fact, Cindi Lynch, Training Program Manager at Stenograph, identifies it as a critical component of effective training sessions.

Illustration: GoCodes Asset Tracking / Quote: LinkedIn
Being specific helps employees overcome the initial learning curve and understand the core benefits in a practical way.
When it comes to the training recommendations, it’s best to start with a core group of key users, then gradually onboard the rest of the team.
This approach allows employees to learn from peers who understand the work and can address real, job-specific concerns.
Studies have shown that small-group, peer-led training improves understanding of new technologies and strengthens internal communication.
Ultimately, thoughtful and consistent training ensures your asset tracking investment delivers on its promise, laying the groundwork for future operational improvements and business growth.
Conclusion
Even the most complex processes become manageable when broken into clear, practical steps.
And barcoding is no exception.
Regardless of the technology behind it, there’s a proven formula for tracking your construction tools and equipment.
It starts with a thorough review of your current systems to identify both gaps and opportunities.
From there, you can select the right barcode tags and compatible scanning hardware with confidence.
What ties it all together is user-friendly asset tracking software and well-trained employees who can use the system effectively.
Get these steps right, and you’ll avoid costly frustrations, streamline workflows, and start seeing the benefits of barcoding in no time!


