Mold is present in many households and can potentially be dangerous, so quality mold testing is essential. If you notice it on time, you can prevent it from spreading and affecting the residents’ health.
A lot of it depends on good, reliable equipment as it helps you determine the presence of the fungus.
This article will explain why mold testing is essential, what the best tools for it are, and how you can properly manage the equipment.
If you’re interested in learning about it, keep reading!
In this article...
Importance of Quality Mold Testing Equipment
Professional-grade equipment is necessary when you do mold work.
Clients hire you to test for mold as almost everyone understands its dangers. It can be highly toxic to people, mainly causing respiratory issues, which is why it’s scary to know that it affects over half of US households.
Nowadays, there are many DIY mold test kits available, so you need to show your clients why they should contact you instead of trying to test on their own. They expect you to leave a minimal mark when performing tests and to have higher-quality equipment than what they can purchase in their local stores.
Besides, such equipment lasts longer and is, therefore, more reliable. You don’t want your gear to stop working when you need it, as that causes delays and expensive downtime, which can also affect the project deadline.
While price doesn’t always equal quality, make sure not to buy the cheapest tools as you have no guarantee as to how long it will last and how well it does its job. Opt for equipment often used in the business and valued as practical to ensure there are no unpleasant surprises.
Buying high-quality equipment makes you seem more professional as it decreases the risk of breakdowns and postponements.
List of Essential Equipment for Mold Testing
There are many tools out there that you can buy to test for mold, but professionals opt for high-quality equipment that can effectively get the job done.
We will explain seven pieces of equipment you can use to be effective at mold testing.
Moisture Meter
A good moisture meter helps you determine a material’s moisture level, enabling you to understand whether there’s a risk of mold.
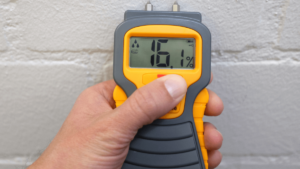
As a mold expert, you need to have a moisture meter. It can’t detect mold, but it lets you know the moisture level in wood, paper, drywall, or concrete. The moisture level is crucial when determining whether there is a risk for mold. It is present in high humidity areas. For example, a wood moisture level of over 20% is concerning, while anything over 17% is high for drywalls.
Moisture meters can have two pins that you stick into the material allowing a current to flow between them, or they can be pinless, relying on a sensory pad that sends out an electromagnetic signal. The pinless option is preferred as it causes no damage to the material.
When you insert the two pins into the material or press the pinless meter straight against the surface, hold the meter in place until the reading stabilizes. Write down the value and then measure a couple of different spots of the same material to notice inconsistencies.
Mold needs moisture to grow, so you need to have quality moisture meters that read the moisture levels of different materials.
Thermal Imaging Camera
Thermal imaging cameras help you detect the source of moisture in areas that you usually wouldn’t be able to access.
You can use thermal imaging cameras to detect unexpected moisture without direct contact with the material. Mold will appear over time if there is enough moisture, but people usually spot it once it’s too late, when they can already see the moldy spots on their property.
Thermal imaging cameras measure the selected samples and the surrounding area’s moisture levels by scanning a room, which helps you notice differences in dampness in that area. Thermal images show wet spots, excessive wetness, and water intrusions, pointing to higher moisture levels.
Such cameras read dampness levels from areas that are usually difficult or impossible to access. They are quick and can read more of a surface at once, allowing you to finish your job quicker and determine the source and extent of moisture.
They perform best in combination with moisture meters—when you notice a potential leak using a thermal camera, use a moisture meter to determine the moisture level.
Thermal imaging cameras will help you detect wet spots and sources of moisture intrusions, allowing you to deal with the cause of mold before it appears.
Hygro-thermometer
Hygro-thermometers or hygrometers are devices used to measure air humidity, showing whether it is high enough for mold to grow.
Different hygrometers, such as capacitive, resistive, and thermal, all have the same goal—measuring humidity. They determine it by noting the pressure and air changes. Once they calculate the moisture in the air, hygrometers compare it to the maximum amount of dampness that space can contain, pointing to higher levels.
Hygrometers are popular in mold testing because of the link between mold and high humidity levels. When they are consistently at 55% or higher, mold will likely appear since it thrives in moist environments.
The issues arise when spores, released by the mold that is all around us, land in a wet area with constant humidity over normal levels.
Those are perfect conditions for mold to grow, which is why hygrometers are so important not only in mold testing but mold prevention as well.
People should use hygrometers to monitor moisture levels in their households or work areas, as they can change drastically and worsen over time, causing health issues.
Using hygrometers helps you understand the moisture level, letting you know whether the area is humid enough for mold to grow.
Particle Scanner
A particle scanner is a valuable mold testing tool as it helps you determine how many particles are present in the air.
As already explained, when spores land on a moist surface, they can grow into mold if the humidity levels are suitable. Most mold testers use particle scanners to test how many particles there are in the air.
Their advantage is that they measure on the spot without sending samples to a lab for analysis, which means that you can speed the process up as you instantly get the results.
However, particle scanners cannot determine the type of particles but only their size and amount, which isn’t enough to test for mold.
Therefore, you should use them once you already know there is mold contamination. When you need to find the source, measure different areas for particles. Once you’ve measured all relevant areas, you will understand where the particle concentration is the highest, allowing you to find the source of moisture in that specific area.
The closure you are to the source, the higher the particle concentration will be.
Use particle scanners to determine where the particle concentration is highest, which will lead you to the mold source.
Air Sampling Tools
Air sampling is done multiple times during the mold remediation process, starting with the mold testing phase, which is why you need to have quality tools.
When you test the air quality, you’re trying to understand whether there is any mold and how widespread it is. Later on, after mold remediation, you perform air sampling to determine how effective it was, i.e., whether the mold levels are back to normal.
Mold is present everywhere in different degrees, so a standard level of mold exists. However, mold levels can be high without being visible.
Air sampling allows you to find the mold before it grows and stains areas of the property. It can be viable or non-viable, depending on the type of particles you are trying to find.
Viable air sampling searches for viable microorganisms, such as mold. Use air samplers and setting plates for such testing. Air samplers use a media plate that’s later incubated to allow growth of whatever colonies are present in the air, while setting plates use a petri dish containing a plate.
Non-viable sampling determines the presence of living and nonliving particles affecting human health, such as mold, smoke, or dust. Perform such testing using air samplers with agar strips or simply placing agar plates in the selected area.
Whatever method you choose, air sampling will let you know what contaminants, including mold, are in the air before they even cause a severe problem.
Surface Tests
Surface tests let you determine if mold particles are present on a questionable surface.
You can test surfaces in different ways, but most often, professionals opt for bulk tests, instant swab tests, and tape lifts because of their ease of use, cost-effectiveness, and availability. Mold testers usually sample areas with visible changes to determine whether mold is present, as not all discolorations indicate it.
When taking a bulk sample, you remove a small piece of the discolored area and place it in a container to keep it safe until laboratory testing.
If you opt for a tape test, you should hold out a piece of clear tape and press it firmly over the desired area. Remove the tape, place it onto a microscope slide, and store the slide in a container for testing.
An instant swab test consists of rubbing the cotton swab across the area and placing it into a secure container to test it.
Such tests point to old and spores around households or other areas, but they do not explain how much mold is in the air. Combine them with air sampling tools if you want to get the best results.
Choose surface tests if you want to know whether mold is present in specific discolored or stained areas.
Borescope
Borescopes give you access to otherwise unreachable areas, allowing you to test for mold where you usually wouldn’t be able to.
A borescope is a form of camera that is a lot smaller than usual and that has a fiber-optic probe, thus giving you the ability to view otherwise hard-to-reach areas where mold could be hiding. On one side, a borescope has a screen so you can see what the other end of a borescope, the camera, is filming.
A long cable is connecting the two, letting you reach the other side of the wall. The size of the hole you’ve drilled to check for mold depends on the size of the borescope—the gap should be a little wider than the borescope.
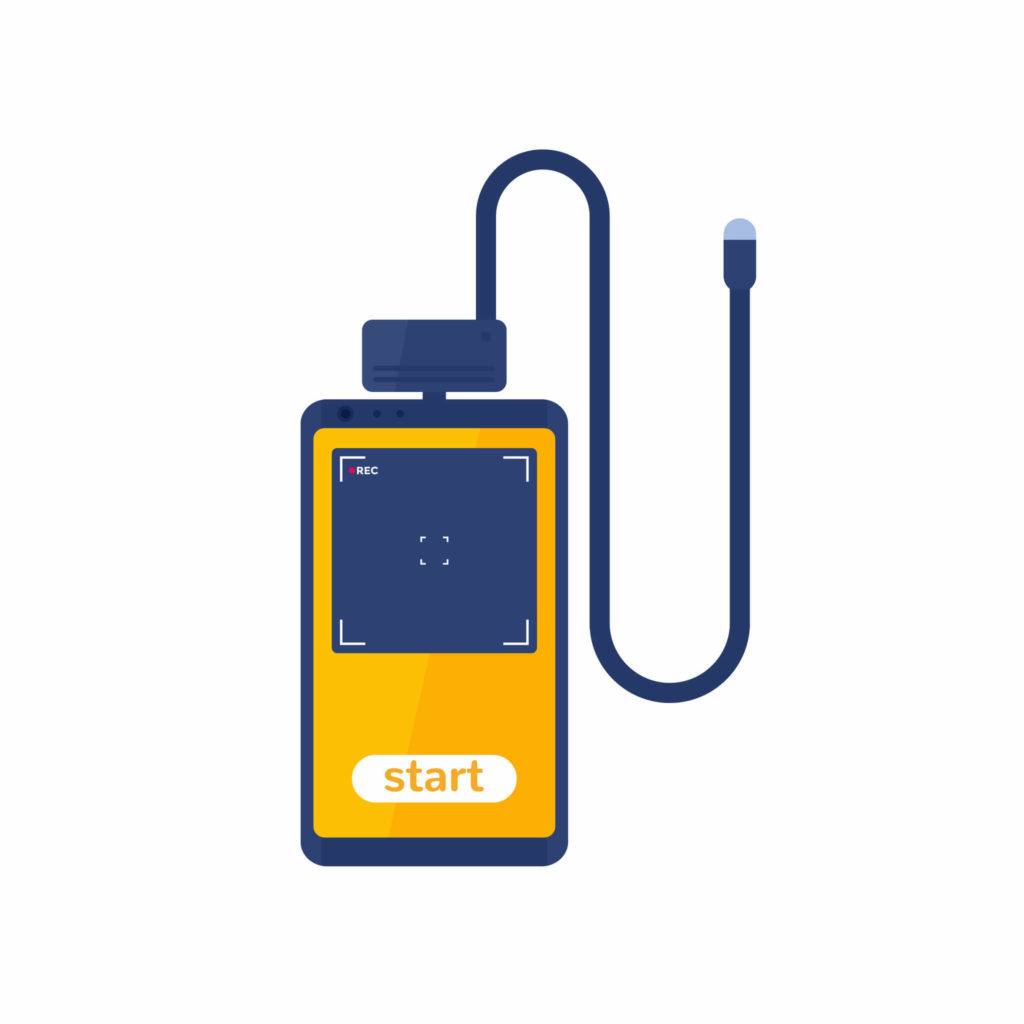
You can use it to test for wall mold by drilling a small hole in the wall and pushing the borescope through it, allowing you to check whether there is mold in the walls without having to tear them down. However, you still have to drill a hole into the wall so a borescope can fit through it.
Since borescopes are used in other industries as well, they are widespread but vary in price. You can find a borescope for $100, but some cost tens of thousands of dollars.
Borescopes are widely used for mold testing since they grant you access inside the walls without causing significant damage to them.
How to Manage Your Mold Testing Equipment
When you have quality, adequate equipment, you need to manage it well to get the best out of it.
Track your equipment to know where it is, who is using it, and when you can count on it —knowing when a piece of equipment will be available lets you plan for future projects.
Equipment tracking saves you money as it helps you track the item’s state and schedule regular maintenance. It not only saves on emergency repairs but also prolongs the life of your equipment
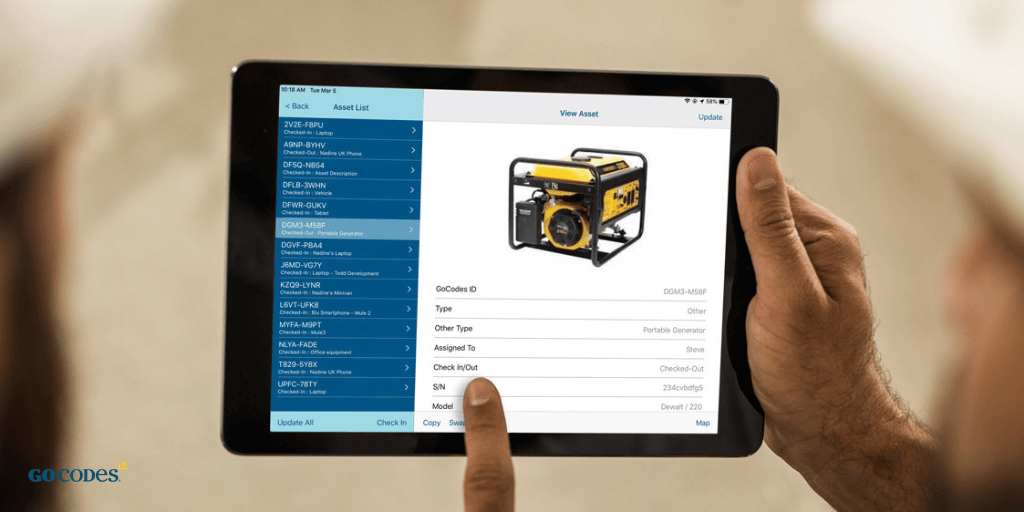
Another benefit of tool tracking is knowing what equipment you own. When you have many tools, you might forget about a missing or unused item. If you have a list of all your gear and know who was the last person to use it, you’re eliminating this risk.
To start, consider having a digital database for your tools. Apps and software can make your life easier by letting you upload equipment information, including the current state, repair status, maintenance details, and pictures into the cloud, making it accessible from anywhere.
Software like GoCodes Asset Tracking lets you track tools as well—tag an item with a QR code label to see where it’s last been, who used it, and when it’s due.
Tracking your equipment helps you manage it better, save money, and rely on your tools.
Conclusion
Since mold can be dangerous, you need to have high-quality equipment to ensure you can detect it on time. Invest in your tools instead of trying to save up on them
You have to measure the moisture and humidity level and check the air quality when finding mold. Do it using moisture meters, thermal cameras, hygrometers, particle scanners, different air sampling tools, and borescopes. If you want to test a specific area, you can use some of the surface tests.
Whatever tools you choose, properly manage them so you can always count on them to be in good condition and reliable.


