Tools often go missing on construction sites. Whenever you work with other people, there is a chance your tools might end up in the wrong toolbox. Or, even worse, they might get stolen.
Because this is a common problem, most contractors mark their tools to recognize them easily.
But which marking method to use?
This decision solely depends on your needs, the value of your tools, and the budget you’re operating with.
Some methods are cheaper than others, while some are more durable and require special equipment.
To help you make the best decision to mark your tools effectively, we’re going to cover essential marking methods to avoid mix-ups and theft on construction sites.
Let’s start!
In this article...
Metal Stamps
Have you ever considered using metal stamps to mark your tools?
This is a popular method among contractors for several reasons:
- Versatile
- Long-lasting
- Subtle/hard to notice without closer inspection
But how does it work?
The good news is that you can put any logo or design on the metal stamp to mark any soft steel surface (flat, curved, concave, or convex).
Place the stamp on the tool and hit it hard with a hammer.
The bad news is that doing so can be a bit difficult if you don’t use enough force or the right hammer. The visibility of the mark also depends on the resilience of the tool.
This means that if your tool is made of more flexible materials, it would be easier to press your logo with a metal stamp.
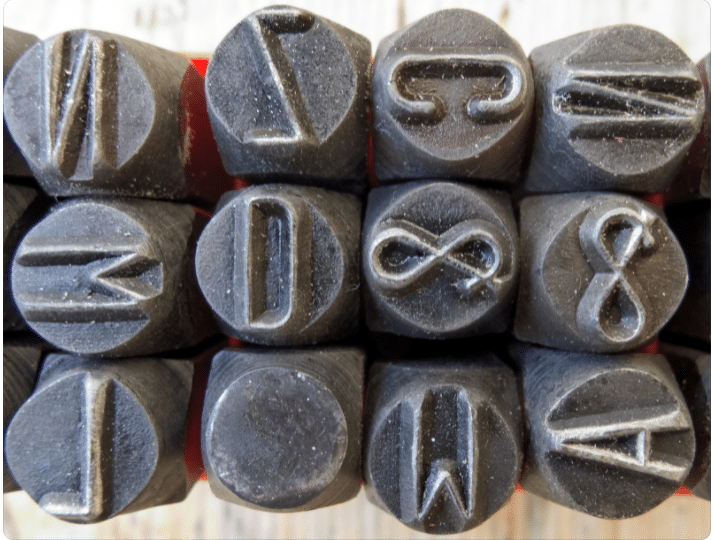
But the effort is certainly worthwhile, and many people continue using metal stamps. All in all, metal stamps are a helpful method if you want a permanent but subtle mark on your tools.
Pressing
If you’re determined to have a permanent mark on your tool but want a more controlled way of doing that, then look into stamping presses.
These machines use cutting dies to create impressions on a (metal) surface.
What you need to do is put your tool under the press, pull a lever to push the dies with the desired logo, and apply pressure to leave an indentation on the tool.
Stamping presses are also known as impact presses, and the best thing about them is that they work with any kind of ferrous or non-ferrous metal.
The most commonly used ones are aluminum, copper, brass, gold, and silver.
Here are some other benefits of this marking method:
- No special training is required for working with the stamping press
- Economical
- Effective for repetitive marking
But there is also one significant drawback to this method. Namely, markings may get damaged due to wear and tear.
The stamping presses produce deep impressions on tools, but time and frequent use might reduce the life of the mark.
Nevertheless, if you need an economical and fast way to create consistent markings on your tools, stamping presses might be a good solution.
Engraving
Another way to permanently mark your tools is engraving. This is a neater method of marking tools because all you need is an engraver.
Most engravings are done with a diamond-tipped engraver which you can use without specialist knowledge. They look like large pens, and you hold them in the same way.
They’re relatively affordable, and you can even find engravers for $18.
But more importantly, they allow you to create custom markings on all your metallic and hard plastic tools with ease.
Following that, there are some disadvantages to this method. Remember that this is a permanent way of marking your tools, so any mistakes will stay on the tool forever.
Additionally, while engravers come cheap, they are still an added cost that will only be used occasionally (i.e., whenever you buy new tools).

Now, for ultimate flexibility, you can do your marking free-hand. But to avoid mistakes, it’s generally advised to use stencils or labels.

For example, Dan Pattison has an elegant solution for anyone with bad handwriting.
He uses labels with clear and large lettering (with different font sizes to match the tools), which he applies to a flat surface on the tool.
Then he uses a cheap engraver to go over the letters, and after he’s finished, he simply peels off the label.
According to him, it’s a reasonably quick and easy process that results in permanent and professional-looking engravings on tools.
That way, he rarely gets tools mixed up with his coworkers, and he’s often complimented on the look of his engravings.
Pattison uses his name as a marking, but you can use your company logo, your initials, or a couple of numbers from your ID, driver’s license, or postcode to get the same results.
To make a long story short, if you want a simple and easy way to permanently mark your tools, consider engraving as one of the solutions.
Etching
What is the difference between etching and engraving?
Both methods produce long-lasting markings on a flat surface (typically metal), but how you create them is different.
Engraving is a physical process where you cut lines into a hard surface, while etching is a process that burns the markings into the surface.
Furthermore, there are different chemical or laser etching methods you can use, such as:
- Laser marking
- Inkjet marking
- Electrochemical marking
Each method has its pros and cons, but generally, etching is an extremely precise, fast, and repeatable method for marking construction tools.
It’s also applicable to numerous materials, so if you have a lot of tools, you can brand them consistently and quickly.
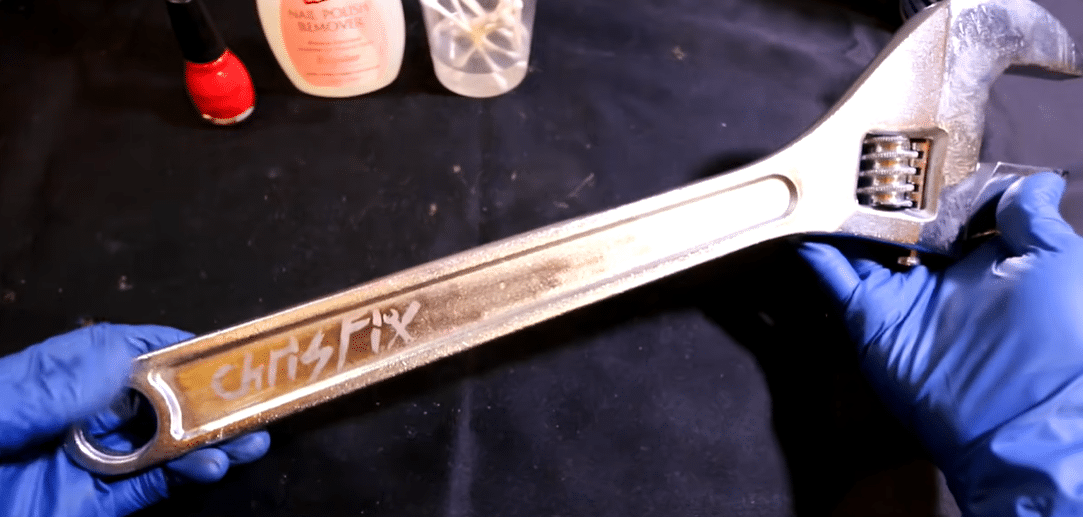
While professional etching equipment is widely used to provide durability and efficiency for tool marking, here are two other ways you can still use this method without breaking the bank.
The first example comes from Youtube’s ChrisFix.
He prefers a DIY method to etch markings on his tools and materials.
Therefore, he uses supplies that can be easily found on any construction site or home garage, and require minimal effort to use effectively.
Check out how he uses stencils, a car battery, and vinegar to etch numbers on a cheap set of sockets.

Chris’s advice is to do this type of etching in a well-ventilated area because you don’t want to inhale chemical fumes while you’re working.
If this is too much effort or you don’t want to DIY, then consider the next example from Koon Trucking.
They recently found an interesting etching product called metal marker (from Ullman) to mark different metal tools.
Basically, you get a tool with essential accessories, and all you have to do is find a stencil you’ll etch on a metal surface.
First, you prep the machine by pressing a button five times, so the pad on the front is saturated with electrolytes.
Then you put the stencil to the front of the machine and press it onto the metal surface.
Hold the trigger for five seconds, and you end up with a clean and legible etched marking on your tools.

In the end, etching is an effective method for marking tools, so it’s no wonder construction professionals are looking for more cost-efficient ways to do it.
Dot Peen
This is yet another machine that uses pressure to create permanent indentations on a metallic surface. But the way dot peen does it is a bit different.
Dot peen marking machines create small dot marks using a special pin.
These dots are closely connected to form straight and curved lines, which results in subtle but versatile patterns to mark construction tools.

These impressions are deep and durable, but most importantly, very legible and high-quality.
They can even withstand harsh environments, making them one of the ideal solutions for wide industry applications.

Actually, this method is generally used in industries such as automotive and aerospace.
Whenever manufacturers need a unique and durable identification on their products, they’ll most likely turn to dot peen marking.
In conclusion, if you want fast, accurate marks on your tools that will withstand the test of time and environmental conditions, then consider the dot peen marking method.
Tagging
Tagging is a method that involves marking your tools with customized labels.
In most cases, they’re a non-invasive way to mark your tools where you simply stick a unique label on a flat surface of the tool.
These tags can feature a barcode or a QR code that can be scanned with any smartphone to get more information about the tool.
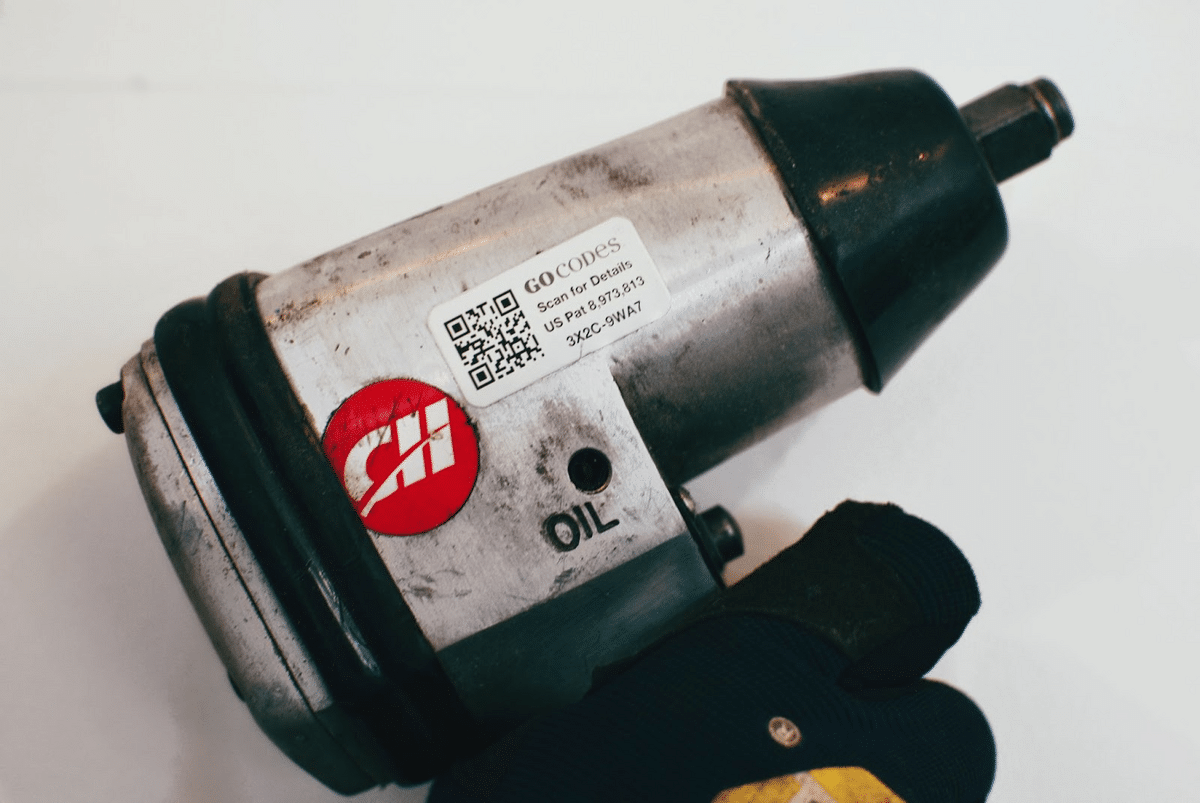
Thus, asset tags can give you more data and more diverse ways to manage your tools, unlike other marking methods. For example, you can track their location in real-time and enhance your security.
Also, these tags are created specifically for your company, so thieves will not easily resell them because they contain your logo and company name.
Strong adhesives will also ensure the tags stay in place and cannot be easily damaged.
Other ways you can utilize asset tags for tool management are to accurately review inventory stock, streamline maintenance schedules, and increase accurate documentation and data collection for legal and business purposes.
Basically, with other marking methods, you influence just one aspect of your business, specifically theft prevention.
But with asset tagging, you’re getting insight into other business areas while protecting your tools simultaneously.
In addition, asset tags come in various materials to accommodate every company’s individual needs.
What if you want to tag a tool that will be used outdoors?
Use metal tags!

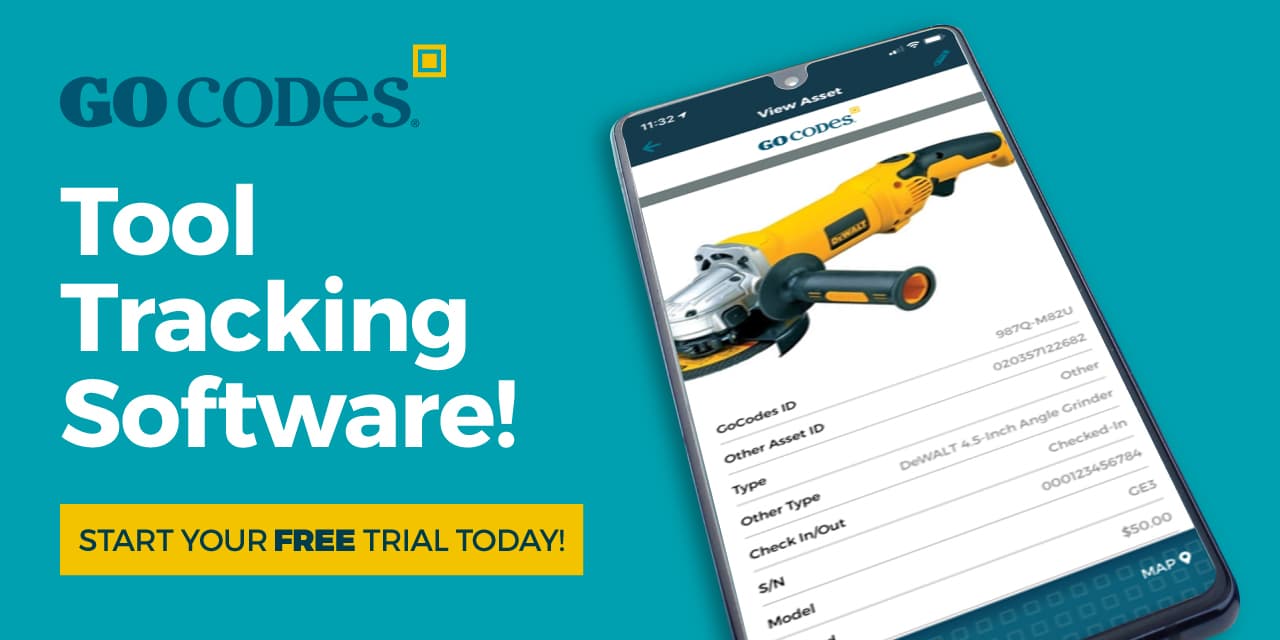
If you want to tag your tools with a more comprehensive solution, look into how GoCodes can help you with customizable and durable tags.
They’re paired with robust software to allow you more control when tracking valuable tools but also give you necessary business data to run a successful company.
Paint
If you need an easy and cheap way to mark your tools but want to avoid buying extra equipment and accessories, use paint or permanent markers.
Despite their name, permanent markers are a short-term solution if you only need to distinguish between similar tools on the construction site.
They’re not a very unique or easily recognizable way of marking tools, but they can be used on most surfaces and are very straightforward.
So, if you’re using permanent markers, color or write on areas you don’t touch frequently. This means avoiding handles and work surfaces.
Also, why not stand out and use a unique color?
If your coworkers rely on black markers, you can switch to yellow or red.
An added benefit here is that some permanent markers, such as Riblex, can be used on a variety of surfaces.

Moreover, spray paint is another method contractors have been using for decades, and it has been highly efficient, as one former electrician remarked on Garage Journal’s construction forum.

He used a can of orange spray paint and could quickly recover any borrowed tools because they were distinctly marked as his.
Just like permanent markers, it’s not a very durable way of marking your tools, but it gets the job done.
Even after 35 years, the former electrician still has all his hand tools.
Moreover, the best way to paint your tools is when they’re still brand new.
That way, you’re not painting over dirt and accumulated debris on your tools which can be scraped off, so you won’t have to paint it all over again.

But the best part of using paint to mark your tools is that you can get creative and make some unique designs that will be more recognizable than permanent markers.
For example, this contractor’s wife turned a simple drill into a garish imitation of candy cane with some nail polish.

While it may produce some laughs on the construction site, the most important thing is preventing thieves from taking the tools.
All in all, using paint or permanent markers to mark your tools is a quick and inexpensive way to distinguish them from those belonging to your coworkers.
Conclusion
Marking your tools is essential if you want to avoid disputes and tool theft on the construction site.
When you can easily distinguish your tool from your coworkers’, there will be no mix-ups, and you’ll retrieve tools that belong to you easily.
Luckily, you can choose from different methods, some more permanent than others. You can even combine different methods for extra protection, like engraving and spray painting.
The most important thing is to have a marking method that will work for you and ensure your tools get back into your toolbag at the end of a workday.

