Companies that use equipment in their operations should have a managing system for it.
Businesses that rely on assets need to go a step further and invest in organizing their equipment room.
That way, they will make it easier for employees to locate the needed items and check them out.
The task might seem demanding as it includes doing an inventory of all equipment, understanding how and what to label, and implementing solutions for a database and easier check-in/check-out.
This article will provide some guidelines for storage room organization for anyone starting this venture.
If you don’t know where to start with organizing, follow the tips below!
In this article...
Why Do You Need an Organized Equipment Room?
Keeping your equipment room organized saves you time, energy, and money.
Even if you are just starting your business and don’t have a lot of equipment, it’s necessary to have a system and keep your room neat and in order.
Otherwise, in time, you won’t be able to tell where your assets are, where they are supposed to be, who is using them, and other details that help you do your job.
If you understand the quantity and location of your tools, you will know when you can count on them, avoiding the unnecessary cost of ordering equipment you already have.
The inability to locate a tool in the middle of a project can cause delays or downtime, both of which cost you in the end.
An organized room also saves you and your employees time, as you can quickly locate the equipment without having to look in various places and wonder if the tool is even available.
Your employees can simply come to the room, glance at the overview to understand where the asset is, and check it out quickly, minimizing the time spent on this task before going back to work.
When you keep your storage room in order, you can quickly understand what you have and whether it’s available for use, saving you time and money.
How to Organize Your Equipment Room
Here are some best practices to ensure you have a well-organized equipment room at all times.
Label All the Equipment You Own
The start of your journey towards an organized tool room starts with a list of all your equipment.
Before you can store the items in the storage room, you need to understand which equipment you own and its current condition.
To avoid doing this repeatedly whenever you do inventory, create a central database to upload the information about your equipment.
If this is impossible to do with a pen and paper or using spreadsheets, opt for software that can serve as an asset database and let you check the number of tools you have, their current user, and state.
Once you have this list, you can start to label the equipment.
It’s no longer acceptable to simply write down how many pieces of equipment you have—you need to find a way to make a note of each item to always keep track of each asset.
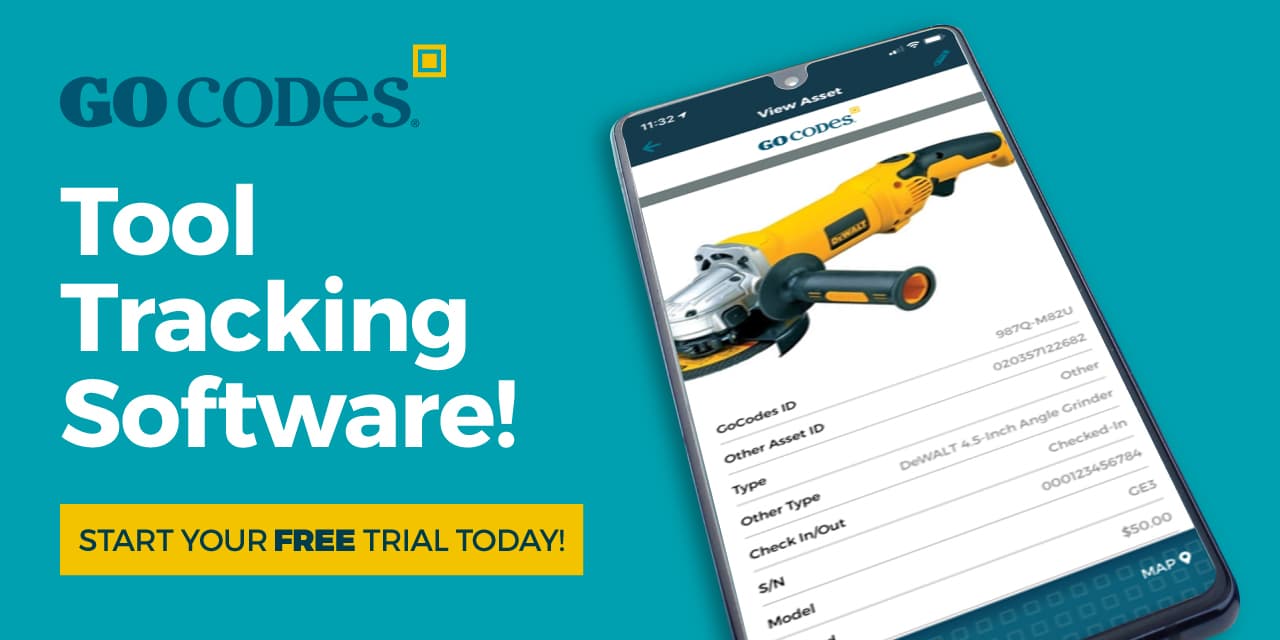
Opt for software like GoCodes Asset Tracking to tag your equipment with QR tags, allowing anyone to scan the tag using their phone and get all the necessary information on an asset.
If the asset is not in the storage room, you can look for it using its code or name in the system, which will pull up all the known data about it, including who was last using it and where.
Listing and labeling your equipment lets you understand how many assets you own and whether you can count on them.
Make the Most Out of the Space You Have
Use the storage space wisely to fit as much equipment as you can while keeping it neat.
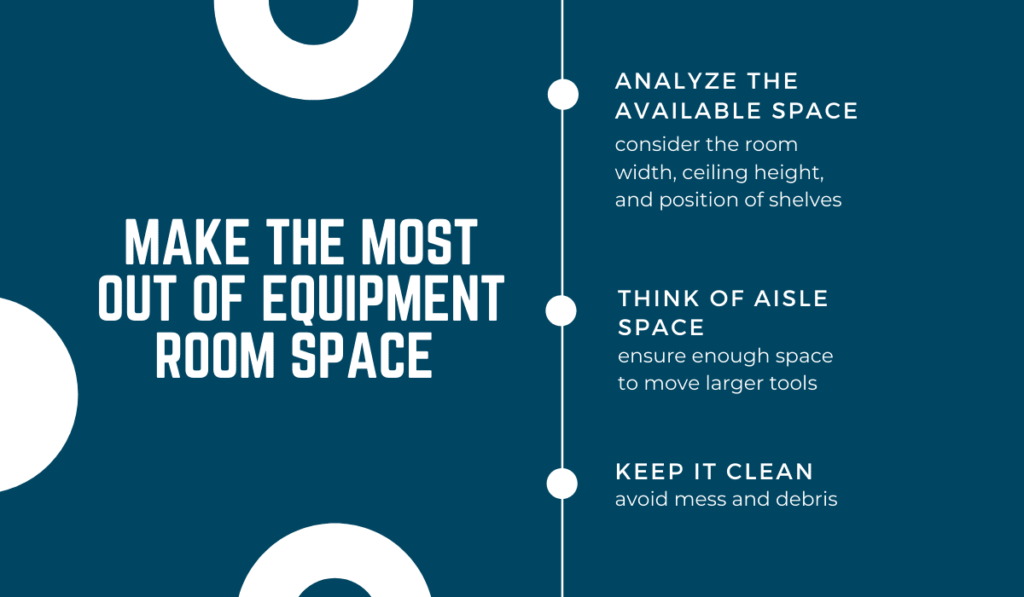
When starting to organize your storage room, analyze the available space first and decide how to store your equipment.
Think of the room width, ceiling height, and position of shelves, and how you can use those to your advantage.
For example, if you have high ceilings, try to stack more shelves on top of each other to use as much space as you can, especially if you keep spare parts and need the extra room.
You can opt for vertical carousel storage if shelf-stacking isn’t an option. Otherwise, you’ll be losing out on the height of the room, which you can use to your advantage.
Also, think of how spacious the aisle is.
Usually, people don’t need that much room to move around unless the equipment is substantial.
Because of this, you can bring shelving units closer together and have more space for another row of shelves.
However, ensure that the aisle space is wide enough for one or two people to carry out even the largest piece of equipment.
Most importantly, clean the storage room often and adequately to ensure that no debris can pile up and create a mess while potentially blocking access to equipment.
When you understand how much space you have, you can optimize the organization of your storage room.
Make Room for Each Type of Asset
When you’ve listed all your equipment and created a database of it, it’s time to decide where you will put each item.
This task might not be difficult if you only store larger equipment that you can easily recognize from far away.
However, most businesses also have smaller pieces of equipment, which is why you need to develop a system of stocking assets and labeling their placement.
For example, you can start storing from the bottom up according to item size and place the most used items closer to the front and door to ease access.
Suppose you have more than one type of screwdriver and a couple of backup pieces for each.
You can put them on the same shelf or drawer and label that position, for example, shelf 1 (S1). If necessary, use arrows on the label to offer more clarity to employees.
Label each shelf, drawer, cabinet, or remaining space, so it’s clear where assets need to be placed or returned.
This will help your team understand where to look for the equipment and where to put it back after use.
Otherwise, you’re risking team members leaving tools together with similar items or on empty shelves or drawers, where others won’t check for that specific tool, leading to its loss or misplacement.
To avoid such scenarios, create a labeling system and stick to it, teaching your employees to do the same.
Create an Overview of Where Inventory Is Stored
Once you’ve labeled the assets and their locations, you need to create an overview of where you’ve stored each type of asset to help your workers understand where the equipment they’re looking for is.
With this knowledge, they will avoid going through all the shelves, drawers, and cabinets to locate a spare part or a tool, causing a mess in the process.
Having a list that lets you know what label stands for which items assist you in doing regular inventory and speeds up locating the necessary equipment for you and your employees.
The list should name the room (or rooms, if you have more than one), shelves, drawers, cabinets, or other spaces you used to store assets.
Then, you can write down what Shelf 1 of Room 1 contains using the labels of the assets.
Using pen and paper for this task can be difficult as writing down each asset and its label is complicated and time-consuming.
It becomes even more complex when you consider that someone will have to go through the list manually to understand which shelf in which room contains the desired item.
If you go digital, your employees can simply enter the asset’s name or label to find the item.
A list that explains where each item is stored simplifies the storing and locating process for you and your employees.
Implement a Check-in and Check-Out System
Allowing your team to check equipment in and out with ease is the next step towards better organization.
When an employee finds the item they need, they have to find a way to check it out. If you’re using a pen and paper system, the employee should write down the item they are using.
However, if you have many pieces of equipment and employees, the list will get too long, and it won’t be easy to find the item you’re looking for on it.
The list might even get a couple of pages longer each day, complicating the process of understanding where a particular asset is.
Because of this, maintaining a digital list is more efficient and easier to manage.
Software that allows you to check equipment in and out by simply scanning its tag speeds the process up and makes the data available to anyone who searches for the item.
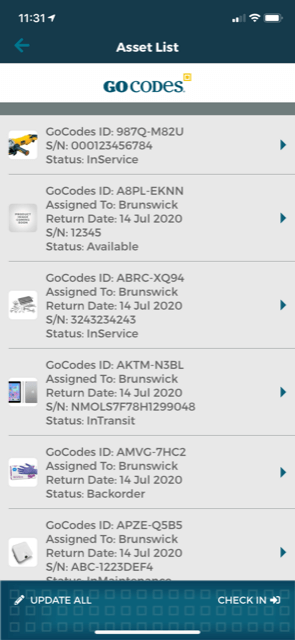
An employee can simply take an asset off a shelf, scan it, and mark it as in use, which only takes a couple of seconds.
They don’t need to use pen and paper and go through pages of content until they locate the item they’re borrowing. Instead, you can do it all via a smartphone.
When they return the item, they can scan it and mark it as returned, letting everyone else know the asset is back in the storage room.
If employees want to say something regarding the item or its performance, they can write a comment or upload a picture.
An efficient check-in and out system lets your team save time on the process and organize their work accordingly.
Ensure There Is Enough Room for Spare Parts
Spare parts management can help you be more organized.
When you’re dealing with many assets, it’s a good idea to keep spare parts at hand in the storage room.
Once you’ve marked a part of the room for spare parts, your maintenance team will know where to look for them.
Of course, you don’t need a spare part for each item you own. Actually, having that many spare parts will cause the room to be more disorganized and have the opposite effect.
There are different ways to organize your spare parts—you can keep them all in the same place (shelf, drawer, cabinet), all similar parts in the same place, or spare parts for the same item in the same place.
Regardless of which organization type you opt for, ensure that you’ve added the spare parts into your inventory list, tagged them, labeled their position correctly, and added them to the overview.
Most importantly, be sure that your team understands the organization type you used.
Otherwise, they will have trouble finding the equipment, and you will face the risk of wasting money on new spare parts merely because your team couldn’t find the ones you already have.
Leaving room for spare parts in your storage room helps you organize your work better.
Control the Room’s Conditions
Controlling the environment of your assets helps with your organization.
Your equipment room stores your assets, which are critical for your business.
Your workers might not spend a lot of time in the storage room, depending on the type of business you run, but it’s essential to keep the room climate-controlled nonetheless.
Why?
You might need to store your assets in cool places for optimal performance. You will understand the requirements of each item by going through the manufacturer’s instructions and seeing if it comes with any special conditions.
If you don’t respect said conditions, you might unintentionally decrease the equipment’s lifespan.
The assets might get ruined by mold or rust if the conditions in the room are suboptimal, which is why you should always keep track of temperature and humidity.
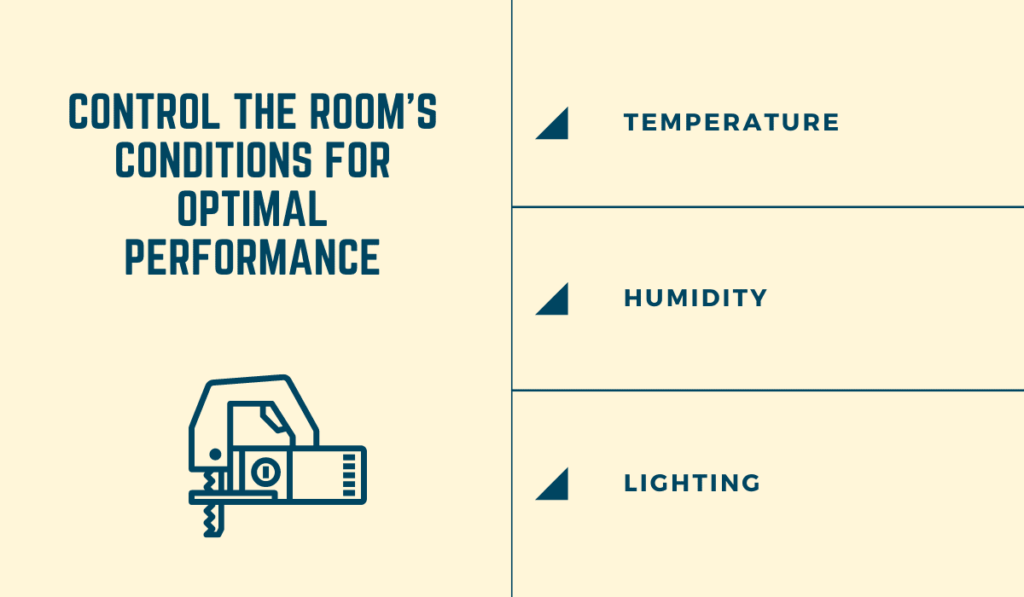
Another aspect you should consider is the room’s lighting.
While this doesn’t affect your tools, it might affect your workers. If the lighting isn’t bright enough, they might have a difficult time locating assets.
On the other hand, if the room is too bright, they might have the same issue.
However, optimal lighting helps your team see and inspect the items, notice quickly if some are in the wrong place, if they have slipped in between shelves, or were misplaced.
If you’re investing in a storage room and its management, don’t forget the conditions in the room, such as moisture, temperature, and lighting.
Conclusion
Organizing your equipment room doesn’t have to be difficult if you do it in a well-thought-out way.
Label and make a note of each asset you own so you can think of how to use the available space to fit all of it.
Once you figure out the details, make room for each type of asset, label its position, and create a general overview of where each type of equipment is, including spare parts.
Use a check-in and check-out system to know where each piece of equipment is. Opt for a digital solution if you want the process to be quick and seamless.

